• Skip to primary navigation
  • Skip to main content
  • Skip to primary sidebar
Gokul Deepak

Gokul Deepak

GoCool and Debug

  • Home
  • Terraform
  • WordPress
  • Android
  • How to
  • About Me

Gokul Deepak S

Must Have Android Apps September 2017

August 31, 2017 by Gokul Deepak S Leave a Comment

On this month of September, I’m upgrading my lineage OS in my OnePlus One. I have rooted the mobile and so some apps that I have installed are not available in Google Playstore.  I will forget the apps and so here to remind myself I’m writing it in a post.

  1. ’33’ Game by Dhivya Karthi
  2. Google Authenticator
  3. Aatchiyar IAS
  4. Google Docs
  5. Uber
  6. Bhim
  7. Tamilnadu Esevai
  8. Adsense
  9. Airdroid
  10. Allo
  11. Amazon Shopping
  12. Appdetox
  13. Black Player
  14. CamScanner
  15. Clear IAS
  16. DigiLocker
  17. English Tamil Offline Dictionary
  18. Evernote
  19. Expense Manager
  20. File Manager by Asus
  21. Flud
  22. GokulDeepak
  23. Google Indic Keyboard
  24. Greenify
  25. Hola
  26. Imo
  27. Internal Audio Plugin (Root)
  28. IRCTC Rail Connect
  29. Jio 4G Voice
  30. Just Reminder
  31. Google Keep
  32. Learning Space
  33. Airtel Mitra
  34. MP3 Video Converter
  35. My Airtel
  36. Myjio
  37. Open Camera
  38. RecMe
  39. Root Browser
  40. Shareit
  41. Su[erSu
  42. Telegram
  43. TimeTune
  44. TN Government
  45. TNPSC Forum
  46. Trello
  47. Truecaller
  48. Tubemate
  49. VideoShow
  50. VLC
  51. Voice Recorder Pro-Splend Apps
  52. Whatsapp
  53. WordPress
  54. WriterP
  55. Xodo

Filed Under: Android

How to block access to the wp-content uploads folder

August 28, 2017 by Gokul Deepak S Leave a Comment

By default, everyone is able to access and browse through your wp-content folder by adding ‘wp-content/uploads’ to your domain name. This means they’ll be able to see all ‘Media’ files you have uploaded to WordPress. In this post, we are going to see How to block access to the wp-content uploads folder.
In a lot of cases, you don’t want this to happen, as some files aren’t supposed to be accessible to everyone. For instance, you might have an e-book uploaded, that you only want to give away to people that subscribe to your email list.
You can block access to these folders by editing the .htaccess file. for your site. This file is located in the root directory of your WordPress website.

Mission: block access to the wp-content uploads folder
There are multiple ways to access and edit the .htaccess file. You can use Filezilla or your hosting service’s cPanel file manager.If you’re using cPanel, click ‘File Manager’, then select the site you want to do this for.

Step 1: If you’re using cPanel, click ‘File Manager’, then select the site you want to do this for.
Step 2: Make sure you have ‘Show Hidden Files (dotfiles).’ Selected! If you don’t, you won’t be able to to see your .htaccess file.
Step 3: Click ‘Go’ to go to the root directory of your site.
Step 4: In File Manager, select your .htaccess file, then right-click, and click ‘Code Edit’.
Step 5: Click ‘Edit’.
Step 6: On a blank line add the following code:
Step 7: “Options -Indexes”
Step 8: Then click ‘Save’, to save the .htaccess file.
Mission Success

As you can see, visiting any part of your WP-content directory now gives the error
403 Permission Denied
You do not have permission for this request /wp-content/uploads/
Done!

Filed Under: Wordpress

How to Display only Title in Category page Genesis

August 24, 2017 by Gokul Deepak S Leave a Comment

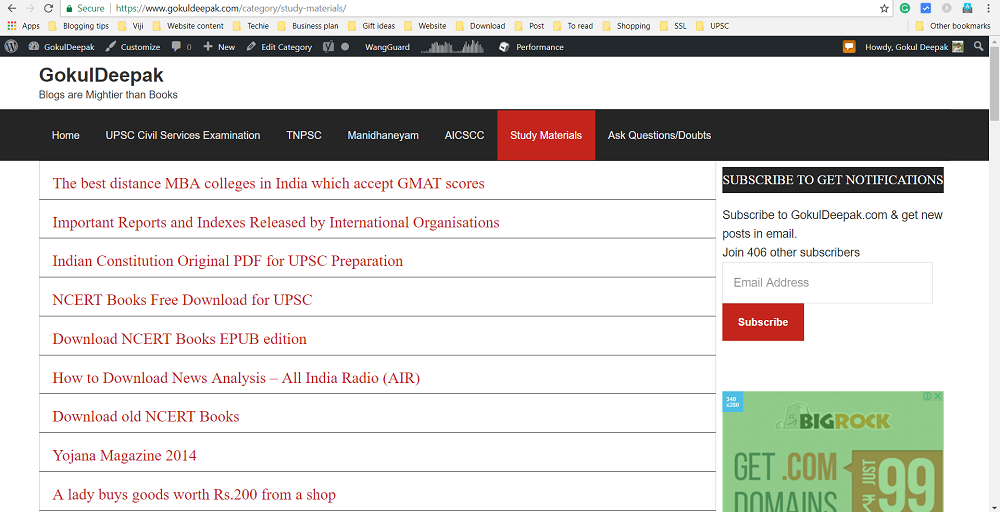
Here in this post, I have explained how to display only Title in Category page genesis like given below. I’m using Genesis Sample theme in explaining this method. Remeber this is the only free official theme so I have spent a minimum amount for a clean framework and customising each and every page according to my wish without paying for the child theme.


How to display only Title in Category page Genesis


In the above example, only the titles of the post are displayed. We can also customize the link color, or to display author name or not etc.

For teaching this method Sridhar Katakam is charging $50. Let me share this for free which I have learned from reading many posts.

Let us now see this step by step.

Step 1: Open Notepad and paste this code and save as category.php

<?php
/**
 * This file adds a custom archive page to any Genesis child theme.
 *
 * @author    Brad Dalton
 * @example   http://wpsites.net/web-design/how-to-show-only-titles-on-archive-pages-in-genesis/
 * @copyright 2014 WP Sites
 */

//* Remove the breadcrumb navigation
remove_action( 'genesis_before_loop', 'genesis_do_breadcrumbs' );

//* Remove the post content
remove_action( 'genesis_entry_content', 'genesis_do_post_content' );

//* Remove the post image
remove_action( 'genesis_entry_content', 'genesis_do_post_image', 8 );

//* Remove the post meta function
remove_action( 'genesis_entry_footer', 'genesis_post_meta' );

genesis();

Step 2: Upload the file to our theme folder. For me /wp-content/themes/genesis-sample

Step 3: Add these line to style.css. You can also access style.css through Appearance-> Editor-> Stylesheet

.category .content .entry {
  margin-bottom: 0;
  padding-bottom: 0;
  padding-top: 20px;
}

.category .content .entry-title {
  font-size: 24px;
color: #000000;
background: #ffffff;
text-align: left;
text-decoration: none;
border-left: none;
border-right: none;
border-top: none;
border-bottom: none;
}
.category .content .entry-title a {
  font-size: 24px;
color: #c3251d;
background: #ffffff;
text-align: left;
text-decoration: none;
border-left: none;
border-right: none;
border-top: none;
border-bottom: none;

}

.category .content .entry-title a:hover{
text-decoration: underline;
color: #801813;
}


.category .archive-title{
display: none;
}
.category .entry-meta
{ display: none;}

You can play with this CSS by changing colors in the title of the post or remove ‘display:none’ to show entry-meta. Entry meta displays post date, author etc.


Hope now you know How to Display only Title in Category page Genesis

Filed Under: Wordpress Tagged With: How to, Studiopress

wp-admin redirect loop after SSL https activation

August 20, 2017 by Gokul Deepak S Leave a Comment

the website loads correctly but I can’t access wp-admin page in wordpress. This is after installing SSL certificate.

Method 1:  simply add this code in simply add this code in wp-config.php file in your root folder. you can access it through FTP. It worked like a champ for me.

/** SSL */  
define('FORCE_SSL_ADMIN', true);  
// in some setups HTTP_X_FORWARDED_PROTO might contain  
// a comma-separated list e.g. http,https  
// so check for https existence  
if (strpos($_SERVER['HTTP_X_FORWARDED_PROTO'], 'https') !== false)  
    $_SERVER['HTTPS']='on';

Method 2:

Add these lines in the wp-config.php file

define('WP_HOME','https://www.example.com/');
define('WP_SITEURL','https://www.example.com/');

Any one of the above two method will work. For me, the First method worked like a champ for wp-admin redirect loop after SSL https activation

Filed Under: Wordpress

How to get SSL Certificate in WordPress

August 19, 2017 by Gokul Deepak S Leave a Comment

This method is for WordPress Websites. Other websites can skip the step5, 6, 7.

  1. Add Domain name in CloudFlare.net.
  2. Change Nameserver in Domain registration like GoDaddy or Bigrock.
  3. Select Crypto in CloudFlare and select Flexible SSL.
  4. Switch on Automatic https rewrites.
  5. Install CloudFlare plugin in WordPress. Switch on Automatic Redirects.
  6. Install Really simple SSL Plugin and Activate.
  7. Install Better Search Replace database Plugin and Search and replace all http://www.gokuldeepak.com domains to https://www.gokuldeepak.com
  8. Add XML sitemaps to google webmasters search console.
  9. Select www as the preferred domain in Site Settings in Google webmasters
  10. In analytics.google.com change preferred domain as https://gforgokul.com
  11. If you want to redirect http from https://www Please read my old post.

Filed Under: How to

How to Redirect http to https://www through .htaccess

August 19, 2017 by Gokul Deepak S Leave a Comment

Redirect http to https://www through .htaccess.

Simply add the code given below in the .htaccess file. The given code will generate only 302 redirect which means a temporary modification to search engines.

RewriteEngine On 
RewriteCond %{HTTP_HOST} ^example\.com [NC]
RewriteCond %{SERVER_PORT} 80 
RewriteRule ^(.*)$ https://www.example.com/$1 [R,L]

If you need 301 redirection which is a permanent redirection, simply add the code given below.

RewriteEngine On 
RewriteCond %{HTTP_HOST} ^example\.com [NC] 
RewriteCond %{SERVER_PORT} 80 
RewriteRule ^(.*)$ https://www.example.com/$1 [R=301,L]

Do not forget to change example.com to your domain name.

Eg:   example\.com you have to change as gokuldeepak\.com.

Example.com as gokuldeepak.com

Filed Under: How to

  • « Go to Previous Page
  • Page 1
  • Interim pages omitted …
  • Page 4
  • Page 5
  • Page 6
  • Page 7
  • Page 8
  • Interim pages omitted …
  • Page 11
  • Go to Next Page »

Primary Sidebar

Popular Pages

  • How to install OwnCloud on Bluehost
  • Home
  • How to find the date of the Facebook group it was created
  • How to Stock ROM using SP flash

Archives

Categories

  • Android
  • Apache
  • AWS
  • Blogger
  • Computer Tips
  • DevOps
  • Docker
  • Earn
  • Facebook Tips
  • Git
  • Google Tips
  • Hosting
  • How to
  • Laptop Tips
  • Laptops
  • Linux
  • Mobile
  • MongoDB
  • Nginx
  • Node JS
  • Notepad++
  • PostgresQL
  • Terraform
  • Ubuntu
  • Wordpress
  • Xenforo

Tags

Android Android One AWS Bluehost Comparisions Custom ROM Elementor Facebook Genesis Genesis Sample Theme Google Drive How to Lineage OS Notes OnePlus One OwnCloud Rooting Smartphones Stock ROM Studiopress Tomcat Wordpress plugin

Copyright © 2025 · Maintained by GokulDeepak


Loading Comments...