Mission: Install own cloud on Bluehost
Objective: Easily upload, Download, Organize files using your domain name. It can be used like a easy and simple file manager for your hosting.
Requirement: An Account in any hosting service. Here I’m using Bluehost service.
Explanation: Own Cloud is an open Source application which is like a Content management system which manages files and folders. I have explained in a step by step procedure on how to install OwnCloud on Bluehost so even the beginner can understand this easily.
Creating a Subdomain
Step 1:
Login to Bluehost -> click on Domain tab-> click on Subdomain (Short cut for Bluehost Subdomain : https://my.bluehost.com/cgi/dm/subdomain)
Step 2:
Create a subdomain. I’m creating a subdomain as “cloud.gokuldeepak.com”
Uploading of the setup-owncloud.php
Step 3:
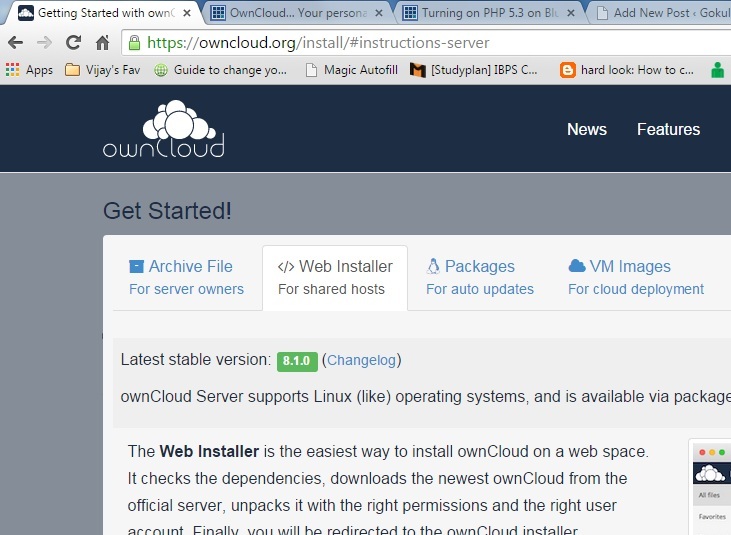
Go to: https://owncloud.org/install/#instructions-server select “web installer” tab
Step 4:
Download the setup-owncloud.php from https://download.owncloud.com/download/community/setup-owncloud.php
Step 5:
Switch to your Bluehost Cpanel -> File manager
Step 6:
Select WWW folder -> In the file manager you will find the subdomain folder. A folder named “cloud”(or whatever name you gave previously for your subdomain on step 2)
Step 7:
Now upload the setup-owncloud.php to this folder.
Installing OwnCloud:
Step 8:
Last step to Install OwnCloud
Go to the following url : “cloud.gokuldeepak.com/setup-owncloud.php” Change for your domain name.
Step 9:
It will ask to set new username and password.
Success!!! We have successfully installed owncloud on our Bluehost account.
After the installation the .php file will be automatically deleted so that you can enjoy the service without worrying about the setup file.
Trouble Shooting:
If you get some error while installing OwnCloud it might be because of php version. You should have PHP 5.3 to use run this setup file. Bluehost will provide us PHP 5.2 as default so you need to update it. where you can update it for free.
-> Login to Bluehost Cpanel, from the left of the screen you should be able to locate the current version of the PHP.
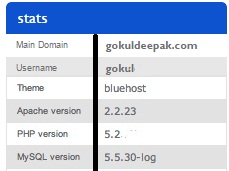
-> In my server , its PHP 5.2, now we are going to upgrade this to PHP 5.3. (You can use the same method to upgrade from PHP 5.3 to 5.4)
->Under “Software/Services” category , select “PHP Config”.

-> Select PHP 5.3 and click Save button present at the bottom of the page.

Thanks so much for step by step method It helps a lot and easy to install…