How to Remove LinkWithin logo under ‘You Might Also Like’ widget in blogger
Let me explain How to remove LinkWithin logo under ‘You Might Also Like’ widget in blogger. Look at the picture added below. This is how … Read More
Let me explain How to remove LinkWithin logo under ‘You Might Also Like’ widget in blogger. Look at the picture added below. This is how … Read More
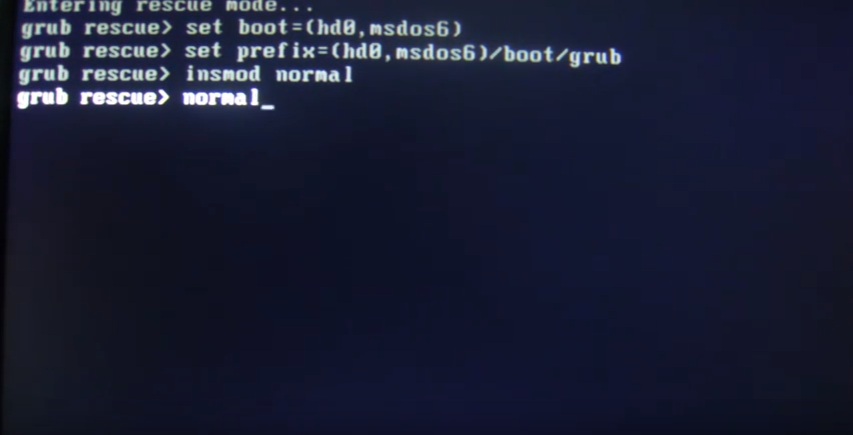
Step by step procedure to install windows without Grub Rescue Grub, or the Grand Unified Bootloader, is the most common boot loader for Linux. That’s … Read More
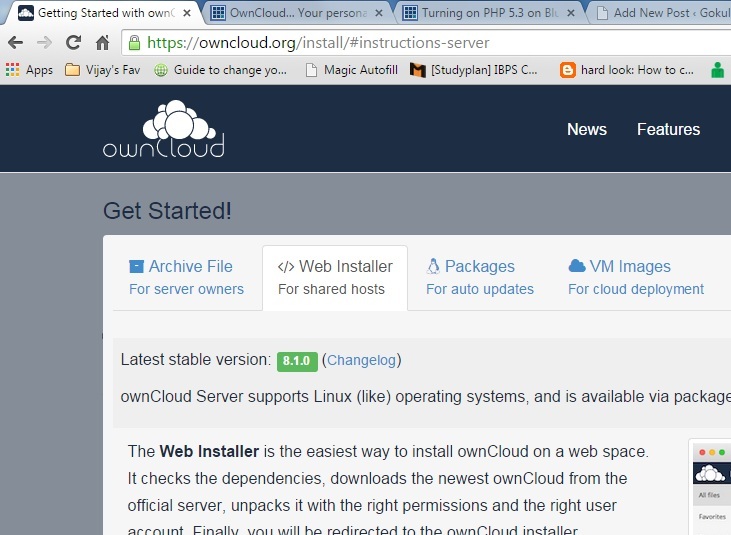
Mission: Install own cloud on Bluehost Objective: Easily upload, Download, Organize files using your domain name. It can be used like a easy and simple … Read More

This question was arisen within me when I have moved my blog from gokuldeepak.blogspot.com to Gokuldeepak.com (a Self hosted wordpress site). I needed an automatic … Read More
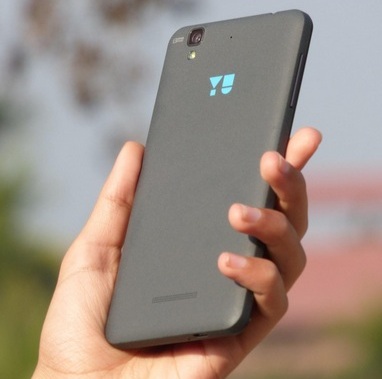
Yureka Yu Plus vs Lenovo K3 Note. You must be confused on choosing any mobile out of these two. It is undoubted that Under 10k mobiles … Read More
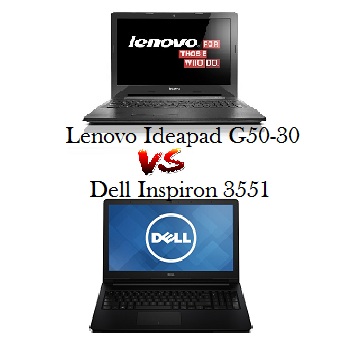
Lenovo Ideapad G50-30 vs Dell Inspiron 3551: Foreign brand or not: Some of the Lenovo Ideapad G50-30 is found in their official website for India … Read More